Design Your Course
- Plan Your Course
- Develop Materials
- Design for Inclusion
After creating a plan for remote instruction, identify the instructional materials that will best equip students to participate in course activities, succeed in their assessments, and achieve the intended learning goals. Think about the learning experience you want your students to gain each week in your course. Then, consider the materials that will help them achieve that learning experience. Course materials could include, but are not limited to: videos,readings, recorded lab or performance demonstrations, PowerPoint slides, articles, and graphics. In the topics below, we share ways of making these instructional materials available using the technology supported by UC San Diego.
As you choose instructional materials for your remote course, it is also important to consider the accessibility of those materials. In a subsequent section, we will share more details on designing for inclusion, accessibility, and academic integrity.
Your instructional materials include:
and any other documents and content files that equip your students and help them learn the information, concepts, processes, terminology, and applications in your course.
These materials should be uploaded or linked in the Canvas course and made available to your students within a weekly module.
Teaching a remote course provides a couple of avenues for instruction. If you choose to continue lecturing at your regular scheduled day and time (synchronously), you can invite students to attend virtually via Zoom, the campus-supported video conferencing tool. Or if you choose to pre-record your lectures at your own time, you can upload the lecture videos to Canvas/Kaltura for viewing (asynchronously). There are considerations for both methods, and thoughtful design practices for how to foster your teaching presence and cultivate a meaningful learning experience. (See drawers below)
SynchronousDeliver live lectures at a scheduled day and time, using video conferencing tools that offer real-time, two-way video and audio.
live video conference |
AsynchronousPre-record your lectures and release them to students in advance so that they can watch and learn at their own pace and time.
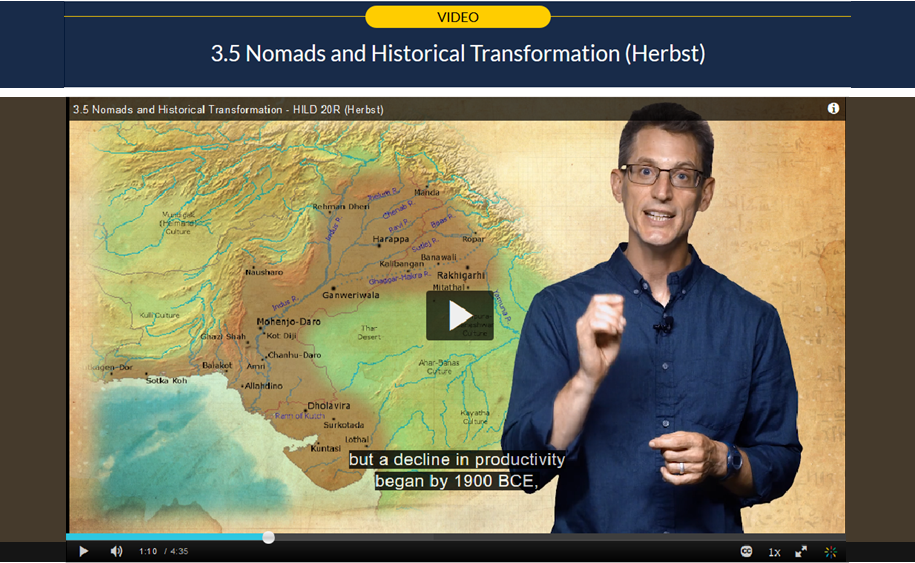
Matthew Herbst (HILD 20R) |
|
Advantages for your students:
Considerations:
Campus-Supported Tools: |
Advantages for your students:
Considerations:
Campus-Supported Tools: |
When lecturing in a physical classroom, you have the opportunity to build in natural check-in points with your class or incorporate pauses to process, reflect, and discuss/practice. Using the same model for remote asynchronous lectures, organize your lecture into smaller teaching points, concepts, and units of information. Identify these “chunks” to record shorter, more focused videos that build in natural breaking points for students to self-check, discuss, or engage in a practice activity. Chunking your lecture into smaller, more digestible learning concepts will also help you organize your lecture, as well as help your students better retain the information.
For example, in HILD 20R, Professor Herbst delivers weekly lecture content through smaller, topical micro-lectures, supplemented by notes and self-check activities on Canvas. In the course's week on "Religious Change in Afro-Eurasia and MesoAmerica," Professor Herbst presents the content through the following videos, listing the title and length of each video for student view:
Keeping videos short and focused will help your students better grasp the concepts, navigate directly to a particular concept video for further learning, and also help them self-regulate and pick up where they have left off in the course.
After recording your lecture videos, organize the order in which your students watch the videos by embedding each video directly onto a Canvas Page.
If real-time synchronous lectures are necessary to facilitate interaction, demonstrate specific processes, and develop skills that can only be done in real-time, the strategies below will help you prepare, organize, and focus on delivering and facilitating an effective synchronous lecture.
If you wish to record your Synchronous Lecture videos and make them available for students who are unable to attend at the scheduled time due to special circumstances, technology requirements, or other conditions, add a note to your Syllabus indicating the lectures will be available for later viewing.
At the start of your Lecture, also be sure to announce that you will be recording and include a note on your slides indicating the lecture is being recorded, will be captioned, and made available on Canvas.

Use the ZOOM LTI Tool in Canvas to schedule your lectures. This will appear on the student's course calendar and notify them of an upcoming meeting. Students will be able to join the meeting from the same ZOOM LTI link in Canvas.
See Schedule Synchronous Meetings.
Modified from: Teachers Educating on Zoom.
For help with setting up a meeting on Zoom, see the EdTech Zoom Guides.